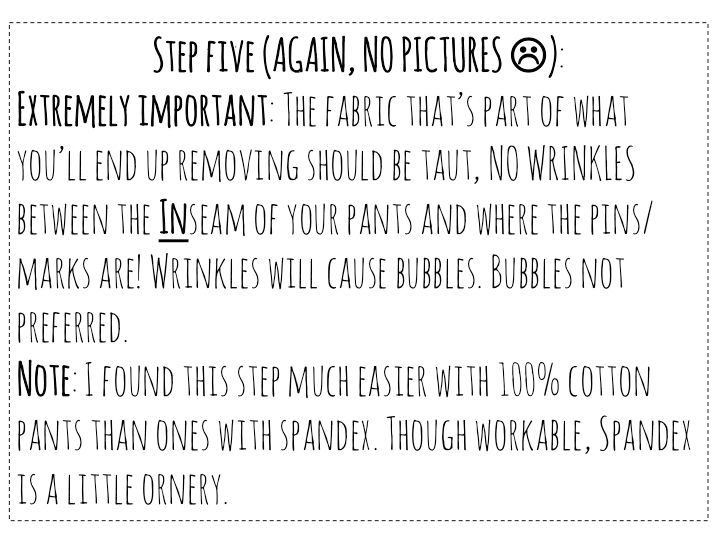
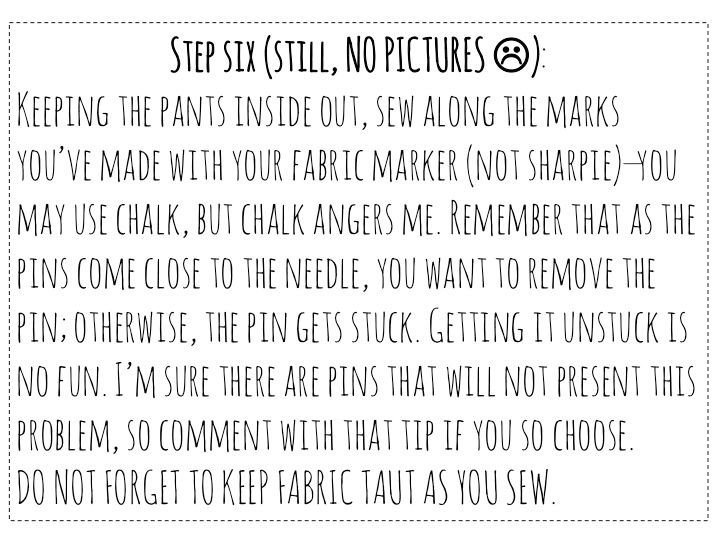
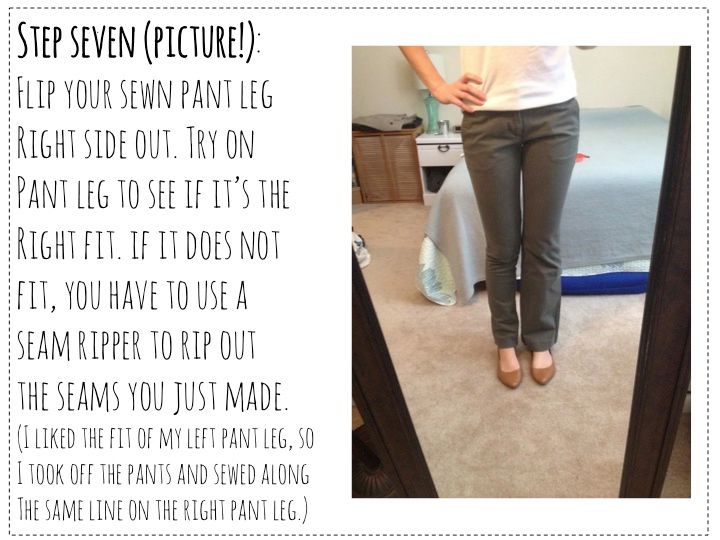
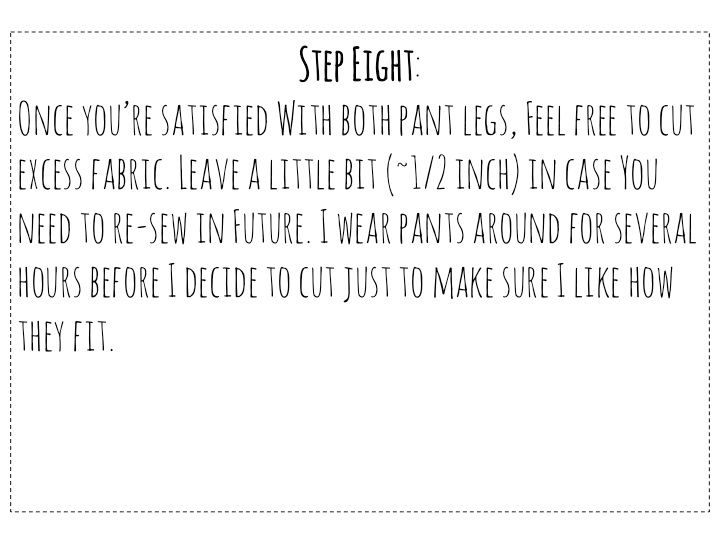
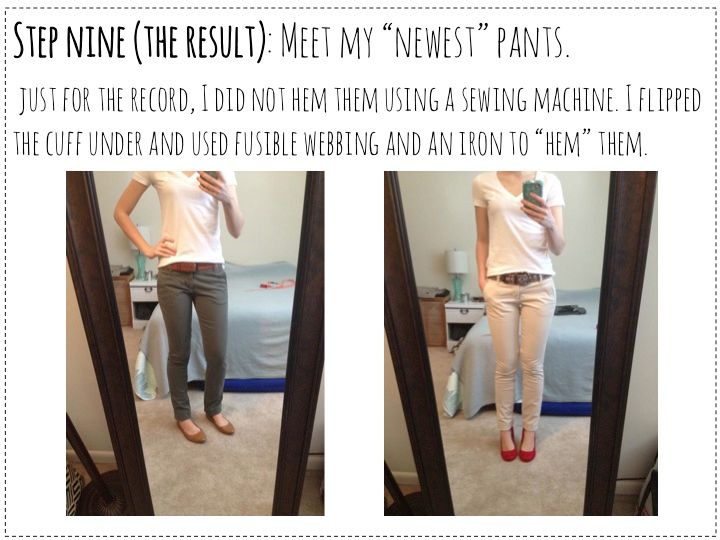
Because I like images and think they're easier to understand--even if it's just a bunch of words in the form of an image--the entirety of this tutorial is comprised in "images."
If you have suggestions for other readers, please leave them in the comments. If you have crummy rebukes to toss my direction, keep your fingers silent. I'll delete your crankiness because I don't need anyone raining on my parade. Hey, my pants made it through an entire day without falling off of me or ripping at the newly-sewn seams, so I did something right.
(Look at me making you a pinnable image in case you want it.)
Straight pins ($2.74)
Seam ripper ($1.99)
Measuring tape ($2.24)
Fabric Markers ($2.99)
(All images and links from JoAnn Fabrics)
(When I say increasingly larger, I'm referring to larger at the bottom, by the cuff, and less fabric to pin closer to your crotch.) Note: there's an extra "in" in step two side note #2. Darnit. I'm sorry.
(When I say even, I mean that you're skinnifying both pant legs the same amount at every section of the leg. Otherwise, you'll look lopsided, which might not be the look you're trying to achieve.)
The hardest part for me was the very last stitches closest to my crotch. I found that I had to fight with this portion the most. What was most helpful was gradually tapering off and making sure the fabric was very taught. If you sew over the slightest wrinkle, it will create bubbling.
(Keep in mind that extra fabric, which you will eventually cut, is stuck inside the pant leg with you.)
EDIT: I meant to include a link to a helpful little "how to hem without sewing" tutorial, but I forgot. Must be because it's from Wal Mart and not Target. Either way, Wal Mart does a good job explaining how to hem using fusible webbing: here's the pin which will obviously take you to the tutorial.
Again, if you need a video because the pictures and explanations really didn't help, please let me know.
Remember that whatever you do is absolutely salvageable as long as you do not cut ANYTHING until you're satisfied with the result. Anything you sew can be undone with a seam ripper, so do not be afraid to try this project! I was terrified I'd ruin a pair of pants and then decided to just bite the bullet. I'm glad I did because I realized that, regardless of how terrible I sewed it the first time, I had several more chances to get it right. (Note: seam ripping sucks, so put on a good show to watch while you have at it.)
If you're not sure how to rip seams, just watch this less-than-two-minute video.
Lizzie B's tutorial (it's a video!) was most helpful, but she uses a marker to mark off the pants no pins. That did not work for me because I couldn't tell if it would be the right fit the entire way down the pant leg, which is why I opted for pinning.
Good luck!
:)


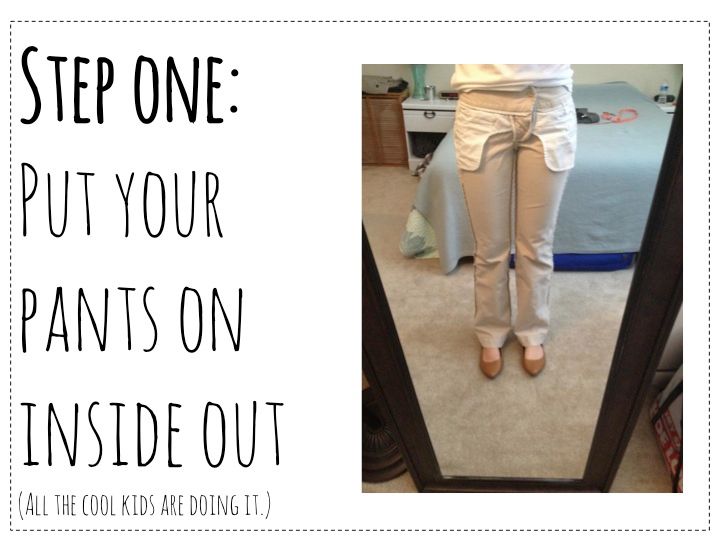
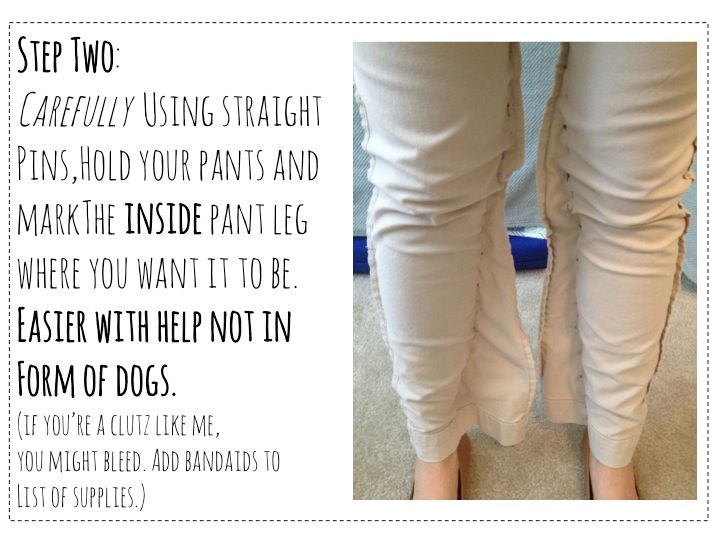
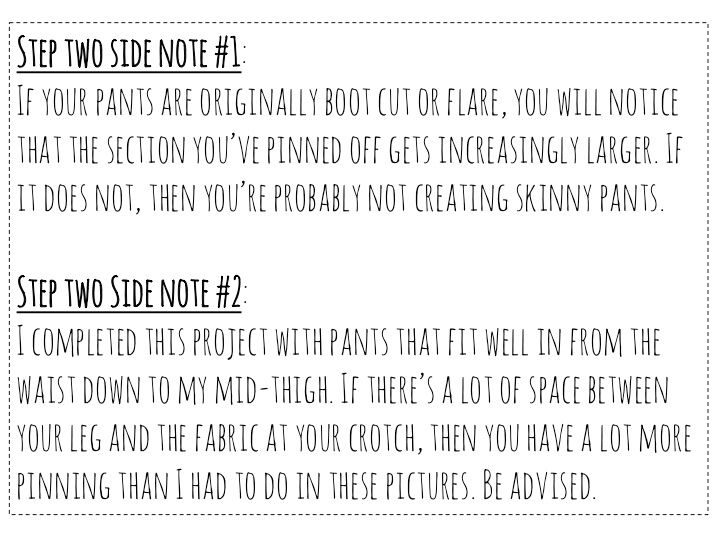
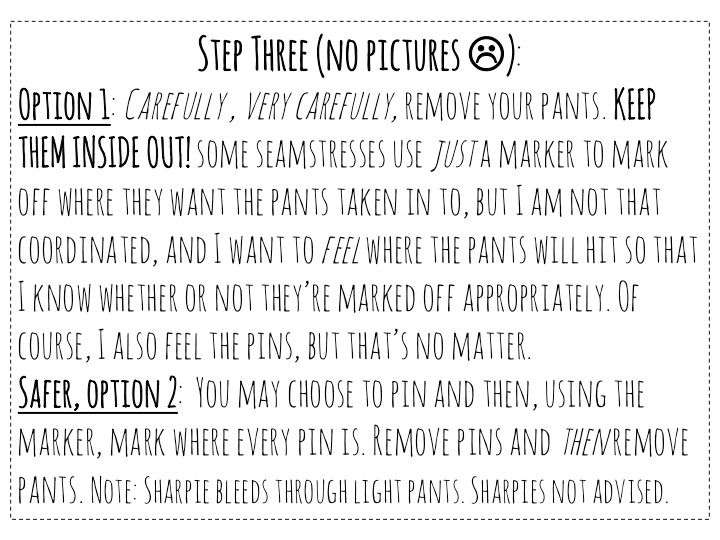

This is fantastic! I love that you made a series of images which are easier to save (along with your witty sense of humor). I am a very visual learner so either step by step pictures or even better, a video would be SO helpful! I'd really like to learn how to do this, and maybe even save a pair of grey trousers I am trying to sell because I feel the flared ends make me look shorter than I already am. Have you ever tried with jeans? I'd be curious to learn about the difference in techniques because I have a few pairs of jeans I'd like to make skinnier and hem. Your no sew hemming secret has me curious... Can you explain this madness??
ReplyDeleteOh and if you're just using straight pins as opposed to safety pins, how do you take the pants off without the pins all coming out?
DeleteNice job! Very well done, even without a video : )
ReplyDeleteI. LOVE. This. I have several pairs of pants that need to be taken in and skinnified. I've been too afraid to do it, but what you said at the end about everything being undoable because of the good old seam ripper makes perfect sense (I used to sew costumes for plays and musicals - why do I forget that I can actually do this?! Haha). One of these days, I'm going to get around to making my pants skinny! Woo!!! Thank you so much for putting this together :)
ReplyDeleteI can't remember how I got here (I'm sure it was through a link-up that I clicked), but I'm so glad I found your blog! I'm a fellow high school English teacher with a "passion for fashion," and I write a beauty blog called Buttons and Bees Beauty. Looking forward to reading more of your posts!
ReplyDeletehttp://buttonsbees.blogspot.com/
Thank you for sharing!!!
ReplyDeleteGreat job!! I have a few pairs to try this on. I just got a new sewing machine for Christmas with a heavy duty needle.
ReplyDeletehmmmm... I'm pretty sure that this opens my options up for pants at the Goodwill! Thank ya! I'll let ya know how it works out for me... as soon as i remember how to thread the bobbin....
ReplyDelete