Look at what I learned how to do!
I made my very own printables :)
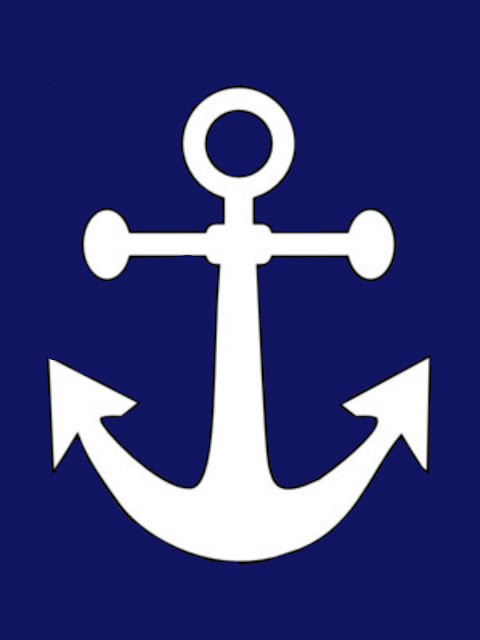 |
| I am thinking about adding this bad boy to my upstairs bathroom. |
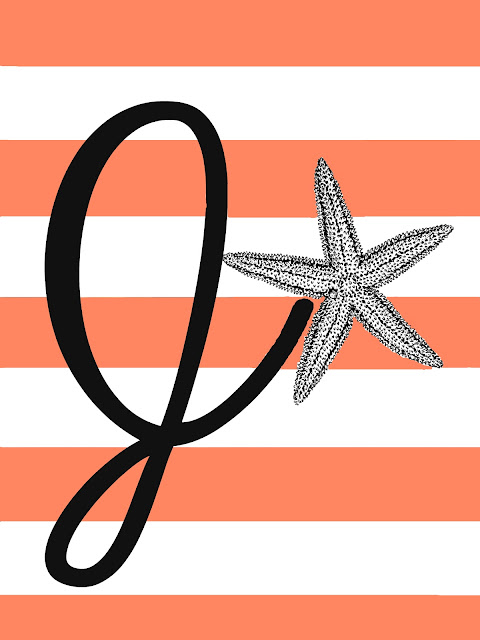 |
I made this little beauty for my best friend who's getting married. Her last initial will be a J. Her first initial happens to be the same letter :) She likes coral and starfish, so I made this one for her.
So, would you like to know how I made these printables? Well then, continue reading.
1. Go to ipiccy.com. It's a free photo editing site, and it has a lot of the same features as Photoshop. You can create layers, burn, dodge, and all other sorts of fun stuff. (If you're fancy, you can use your fancy Photoshop. If you're fancy, then you probably don't need this tutorial.)
2. Upload a picture from your picture files. (Just to be sure I wasn't overwriting one I really liked, I picked a throw away picture.)
3. Click on the paint pallet tab at the top.
4. On the left side, the tool box will show up. Click on the box at the bottom (or the eyedropper). This will allow you to choose a color. Now, choose the color that you would like your background to be. This is the tool box:
5. Using the brush tool or the rectangle tool, color in the entire background. For the striped one, I chose coral and white. I used the rectangle tool to make stripes of white and coral. Note, if you lose the coral (or one of your colors) and do not know how to recreate it, then click on the eyedropper tool. Move it over the color (I moved mine over the coral in my picture), and your color will reappear in the box. (As you can see, my box is coral colored.) Without this tool, I never would have been able to rematch the color, haha.
6. If you want a graphic (such as an anchor or starfish), you can find one that you like on Google images or something already on your computer. To add this graphic, click on the tab that looks like three stacked photos. These are the tabs I'm referring to:
7. Click on the photo button. You have to allow it to access your computer files, but that takes less than a few minutes. Then, you can upload the photo of your choice.
8. Once your photo is uploaded to the library, you can drag and drop it to your newly repainted background. If the image you just dropped in has white around it, all you need to do is go back to the pallet, magnify the image using the Navigator box. (You can magnify the image by clicking on the little mountains on the right; you can make them smaller by clicking the mountain on the left.) Once your image is larger, it makes it easier for you to paint the white area that your newly placed graphic added. For the starfish, I had to repaint the areas around it coral because its white background bleached out the coral.
9. Bedazzle your image as you wish. For my first image, I kept it simple. For the second image, I added the letter J (you can add text by clicking on the stacked photos tab.)
|
Obviously, if you have Photoshop, this process would work a bit differently because you have all sorts of bells and whistles, but it's the same basic concept. If you are too poor (like me) to buy Photoshop, then use ipiccy because it's truly fantastic and user friendly. Oh, and FREE :)
I hope you feel like you just learned something valuable; otherwise, this post might have been a colossal waste of time.


.jpg)

No comments:
Post a Comment
Feel free to throw some witticisms my way.